Using gradients in Flutter
permalinkYesterday, I wondered how to create gradients in Flutter, so let's see how this works.
Gradients, in general, can give us that extra fancy feeling in our app. While researching this article, I learned that Flutter allows you to modify everything, another great win of Flutter.
Basic gradients in Flutter permalink
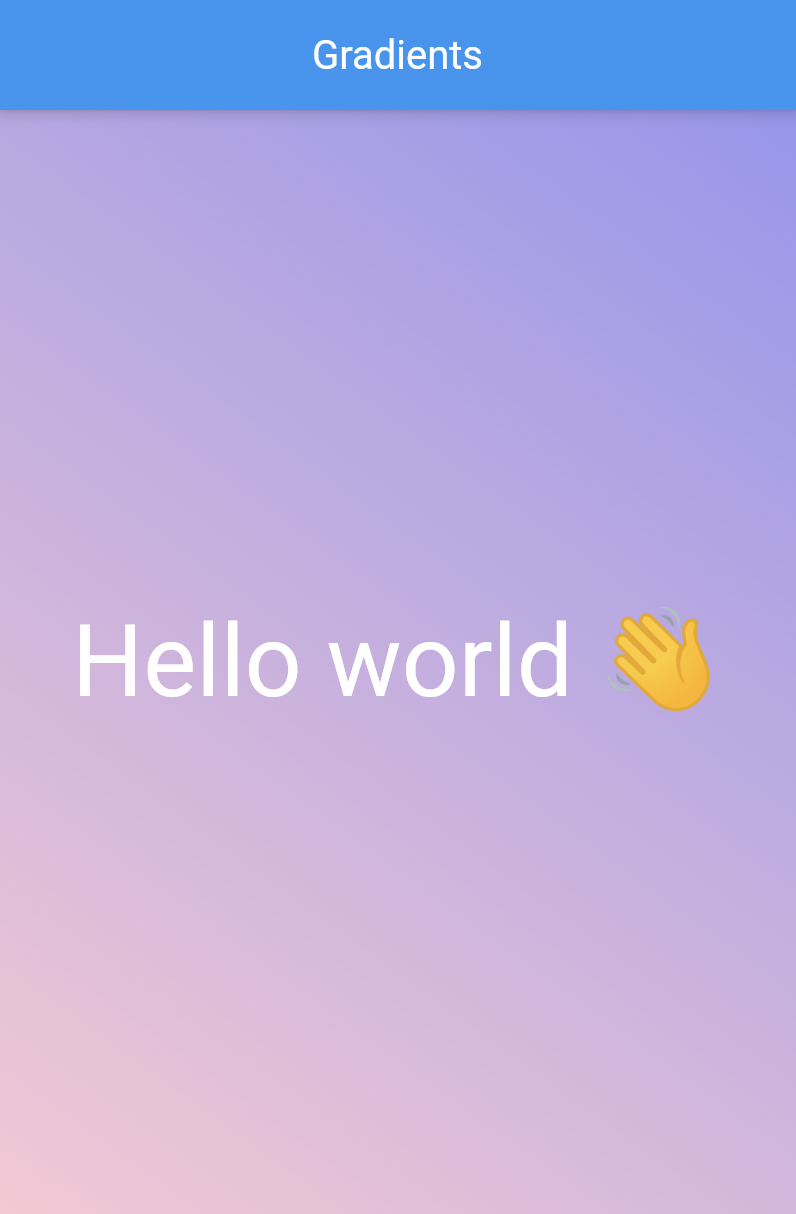
The primary way to add gradients to our Flutter app is to use a box decorator. You can use decorations on a couple of elements, including a container.
Let's look at how that looks.
We'll start using our basic Flutter app as our blank canvas again.
return Container(
  decoration: BoxDecoration(
    gradient: LinearGradient(
      begin: Alignment.topRight,
      end: Alignment.bottomLeft,
      colors: [
        Color(0xff9796F0),
        Color(0xffFBC7D4),
      ],
    ),
  ),
  child: Center(
    child: Text(
      'Hello world 👋',
      style: TextStyle(
        fontSize: 50.0,
        color: Colors.white,
      ),
    ),
  ),
);
I've used hex colors, but one could also opt for Colors.red and Colors.blue.
We have to prefix the hex value with 0xff and then the hex value when using the hex colors.
Example: #2BC0E4 becomes: 0xff2BC0E4.
This sample example will give the container a nice gradient.

Adding more stops to gradients permalink
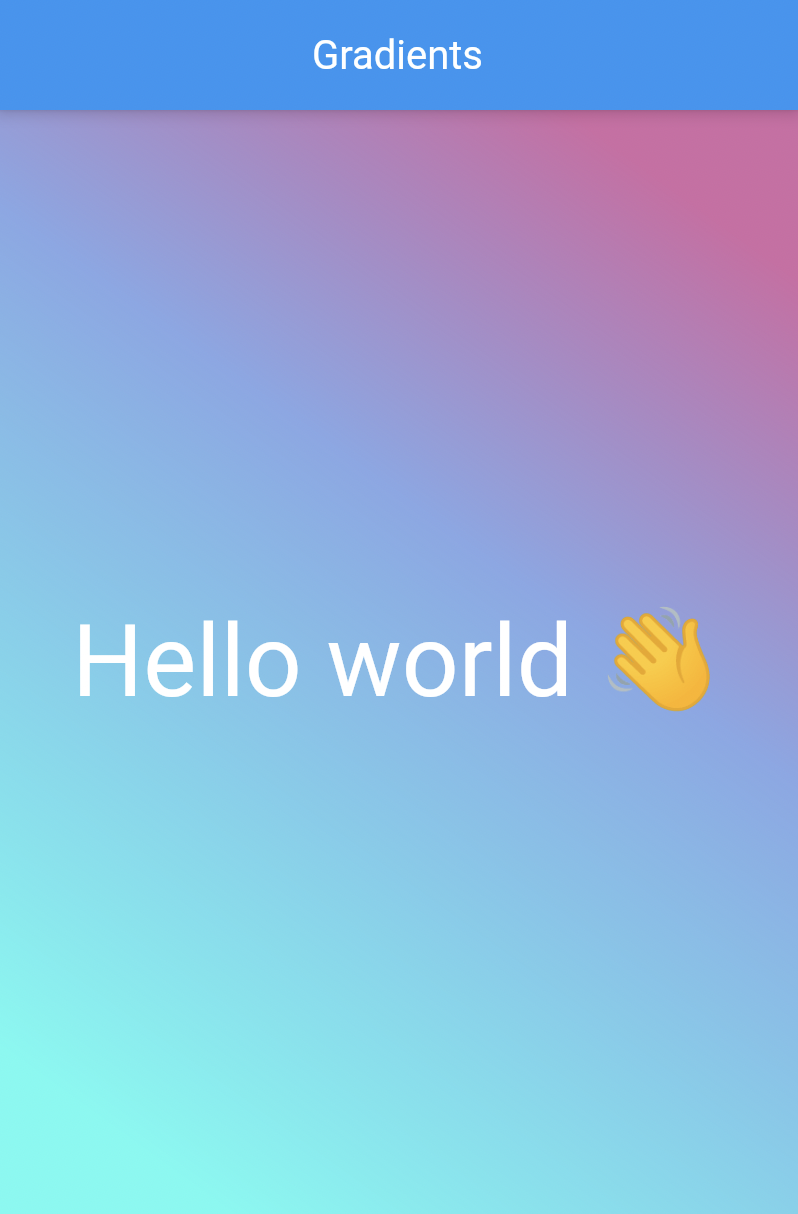
Sometimes two colors are not enough, and we'd like some more stops. We can achieve this in Flutter by defining the stops and the colors.
decoration: BoxDecoration(
   gradient: LinearGradient(
     begin: Alignment.topRight,
     end: Alignment.bottomLeft,
     stops: [
       0.1,
       0.4,
       0.9,
     ],
     colors: [
       Color(0xffD16BA5),
       Color(0xff86A8E7),
       Color(0xff5FFBF1),
     ],
   ),
)
We introduced a new element which is the stops. This array of points starts at which space the gradient should change.
The stop value runs from 0 to 1. Then we also added that amount of colors so the arrays match.
Look at this example. The colors are not equal widths.

Changing the gradient direction permalink
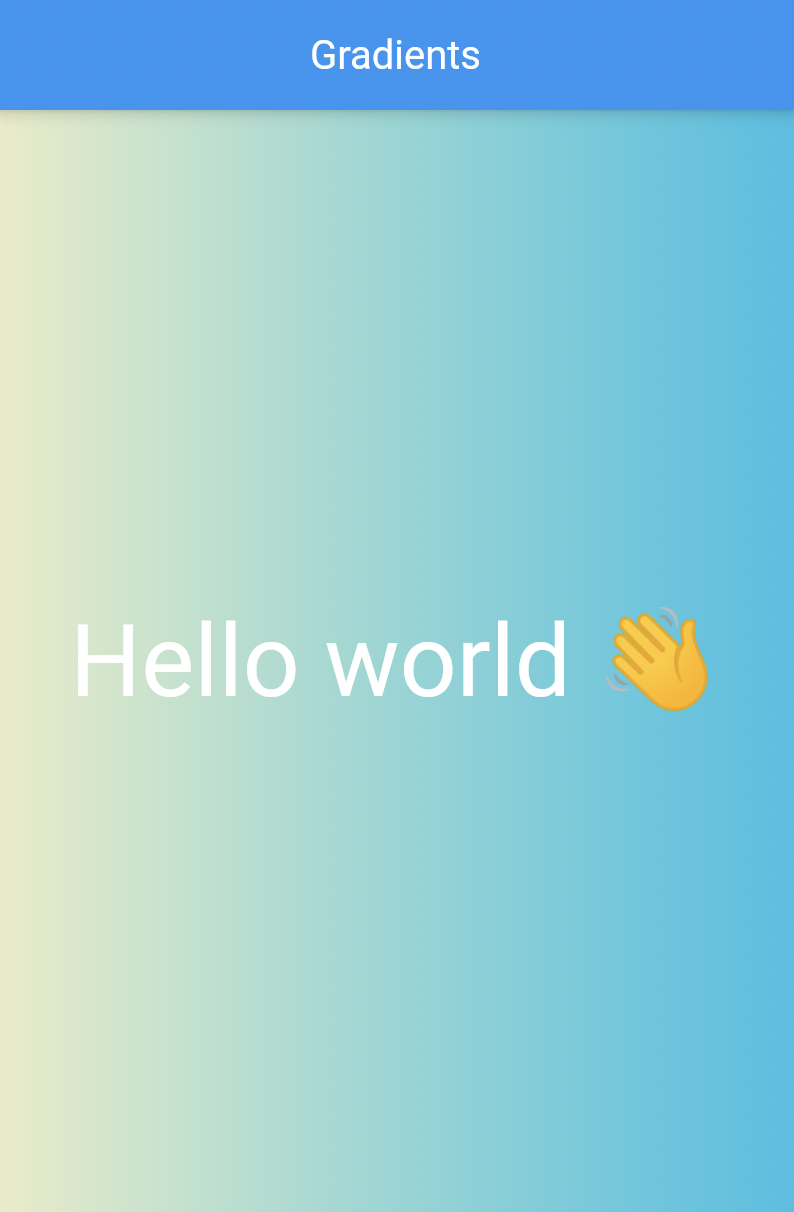
Of course, we don't always want the gradient to run like that. We can easily change the from/to on the gradient configuration to change the gradient flow.
Let's try and make it from left to right.
decoration: BoxDecoration(
   gradient: LinearGradient(
     begin: Alignment.centerLeft,
     end: Alignment.centerRight,
     colors: [
      Color(0xffEAECC6),
      Color(0xff2BC0E4),
     ],
   ),
),
Resulting in the following gradient:

That's it. We can now use this gradient decorator to give our application a nice finished touch!
If you want to see the source code for today, check it out on this GitHub repo.
Thank you for reading, and let's connect! permalink
Thank you for reading my blog. Feel free to subscribe to my email newsletter and connect on Facebook or Twitter