Starting your first Laravel project
permalinkToday I'll be showing you how easy it is to get started with a Laravel project.
Laravel is a PHP framework. For me, it focuses on good practices and clean code.
The super cool part about Laravel 8.0 is that it now comes with a simple terminal command to build an app that runs in Docker!
Before we start, make sure you have Docker desktop installed.
Installing Laravel permalink
Once you have Docker installed and setup, we can open the terminal and execute the following command.
curl -s https://laravel.build/laravel-app | bashRunning this command will create a laravel-app folder in the current folder you in.
You can change the name to whatever you need it to be, so your projects need to be called client-website run the following command.
curl -s https://laravel.build/client-website | bashWith this command, it will setup all the packages and even set your application key for you.
To run the application, we can simply cd into the directory and run the following command.
cd laravel-app
./vendor/bin/sail up
The first time the sail up command will take quite a while but don't worry any time after that, it will be quick.
Note: If you're on the new Mac M1, you need to change the
docker-compose.ymlfile. Changeimage: 'mysql:8.0'toimage: mariadb:10.5.8
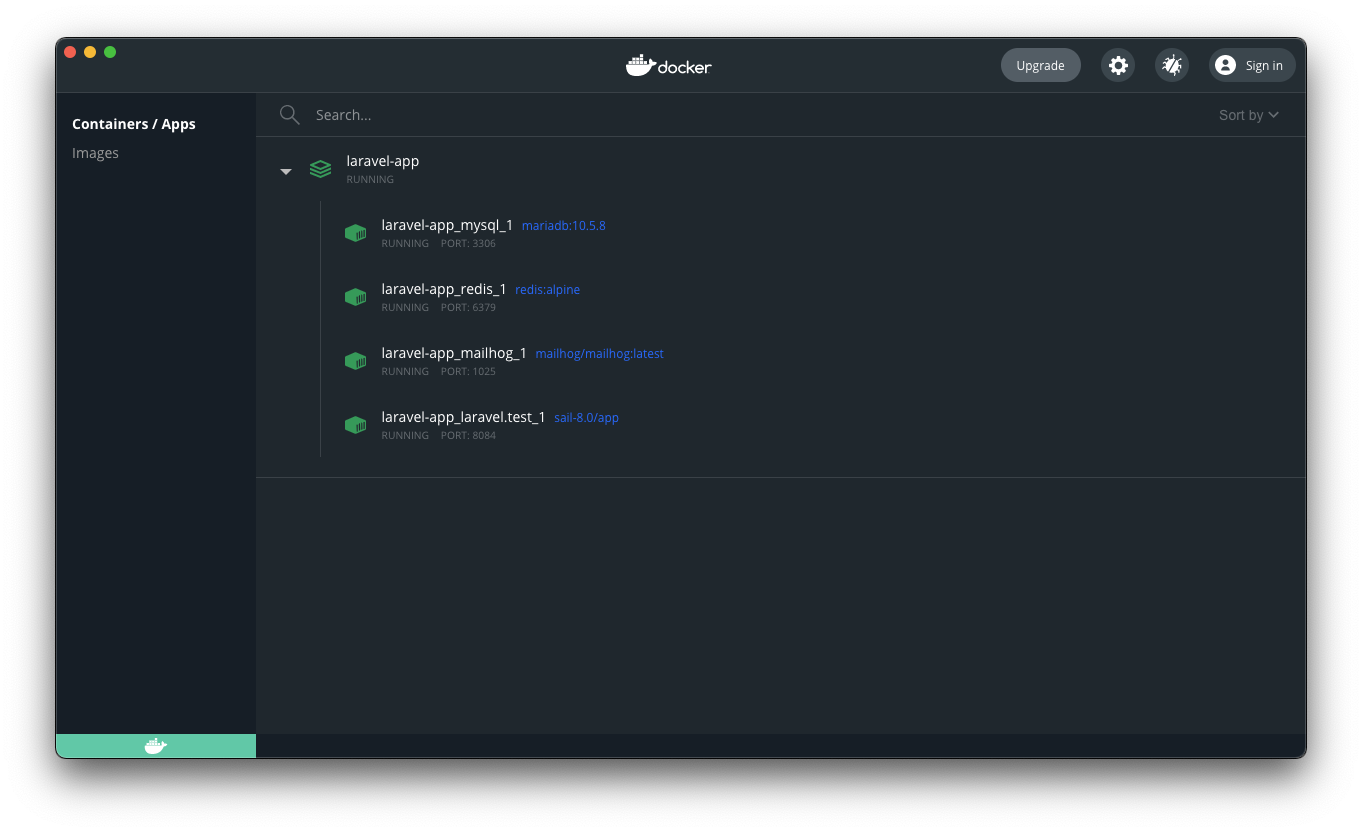
Once everything is installed, you should see the following in your Docker desktop app.

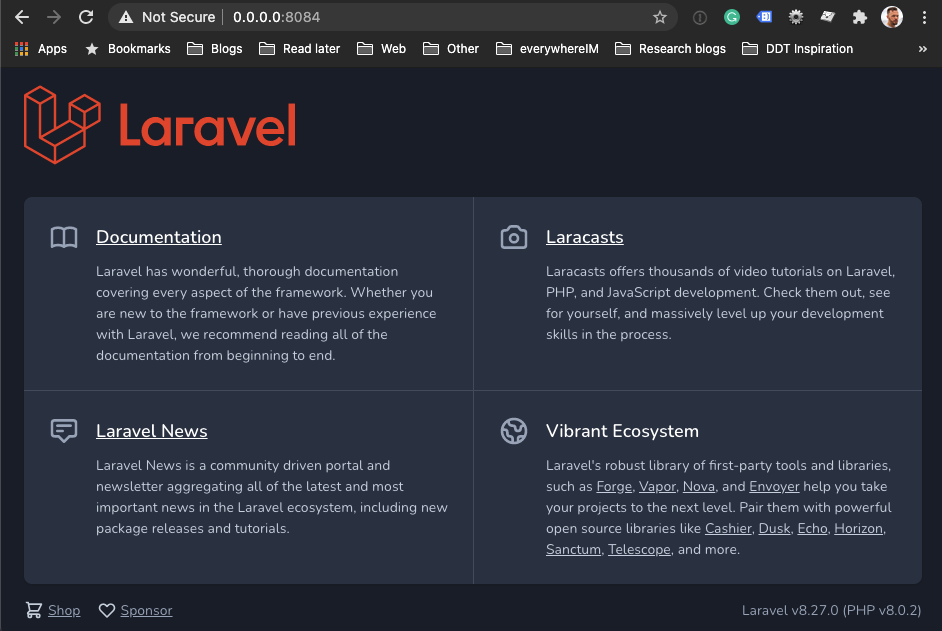
And we should be able to view the application going to http://localhost.
Note: you might have to change the port if you already have a server running on port 80

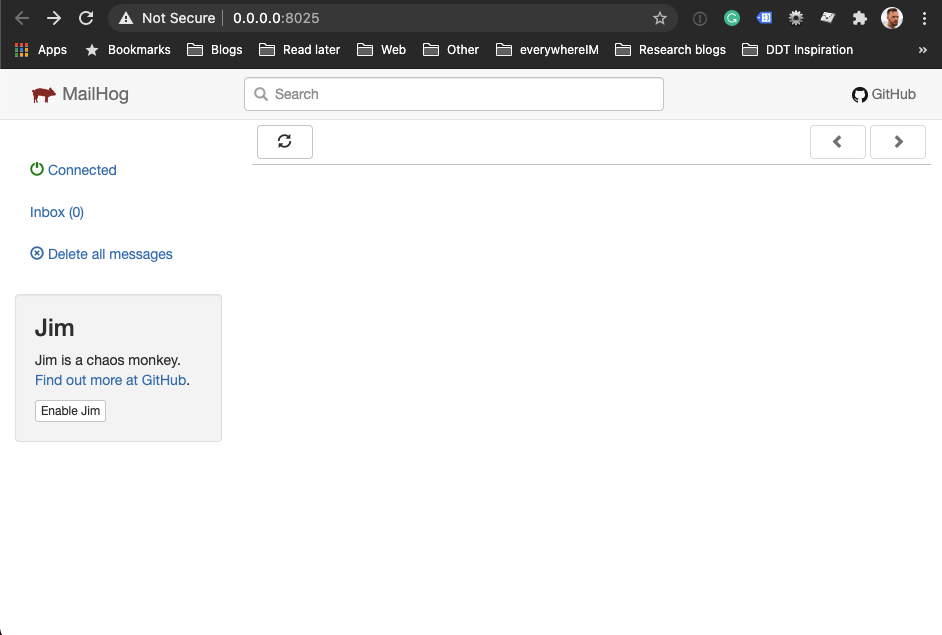
And we even get a default Mailhog installation on port 8025:

Thank you for reading, and let's connect! permalink
Thank you for reading my blog. Feel free to subscribe to my email newsletter and connect on Facebook or Twitter