Installing Flutter on a Mac
permalinkAs you may know, my day job is developing Ionic applications, but recently, I've seen so much traction on Flutter.
I'm not convinced yet why it would be better or if it's worthwhile learning Dart. But without trying it myself, I feel like I can't have a good opinion about Flutter.
So here we go, let's try and build some apps in Flutter and write down my findings.
Installing Flutter on Mac OS permalink
Let's start with installing Flutter so we can build a basic Hello World application (Hey, who doesn't like those 😂).
I'm a big fan of Homebrew me it's the quickest way to install the Flutter. Open up your favorite terminal and execute the following command.
brew install --cask flutterNote: At this point, it might be that I have some extra stuff already installed since it has overlap coming from Ionic.
But something cool is the option for Flutter to check if your system is up and running or might be missing some elements.
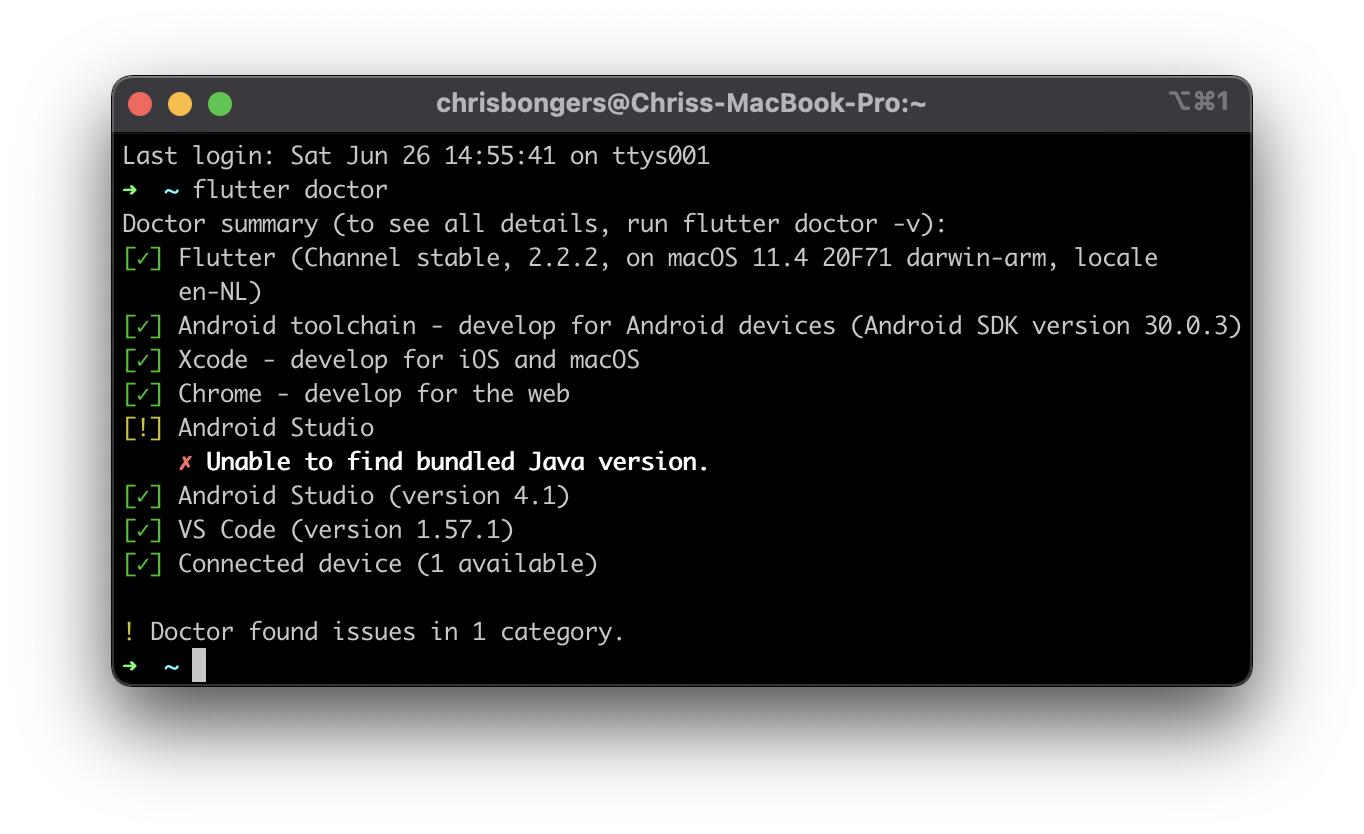
flutter doctorThis command will check if your system is ready to get started with Flutter. And should give a response similar to this:

As you can see, my system only states one issue. But some other resources you need:
Xcode: Setup and installed also accept all licensesChrome: As your browserAndroid Studio: For the Android buildsJava: Needed for Android buildsVS Code: For editing the software
If you are missing any of these, follow the following steps:
- Xcode: Download from the App Store and open up it will guide you through it
- Chrome: Download with brew as well
brew install --cask google-chrome - Android Studio: Can also be installed with brew:
brew install --cask android-studio - Java: This should typically be installed with Android Studio
- VS Code: Install with brew
brew install --cask visual-studio-code
Creating our first Flutter app permalink
As expected, Flutter comes with the option to generate a basic application with the CLI.
Let's run the following command to create our first app.
flutter create flutter_appThis will create a folder called flutter_app without code inside. Let's navigate to this folder.
cd flutter_appAnd now, we can start the app for the first time by running the following command.
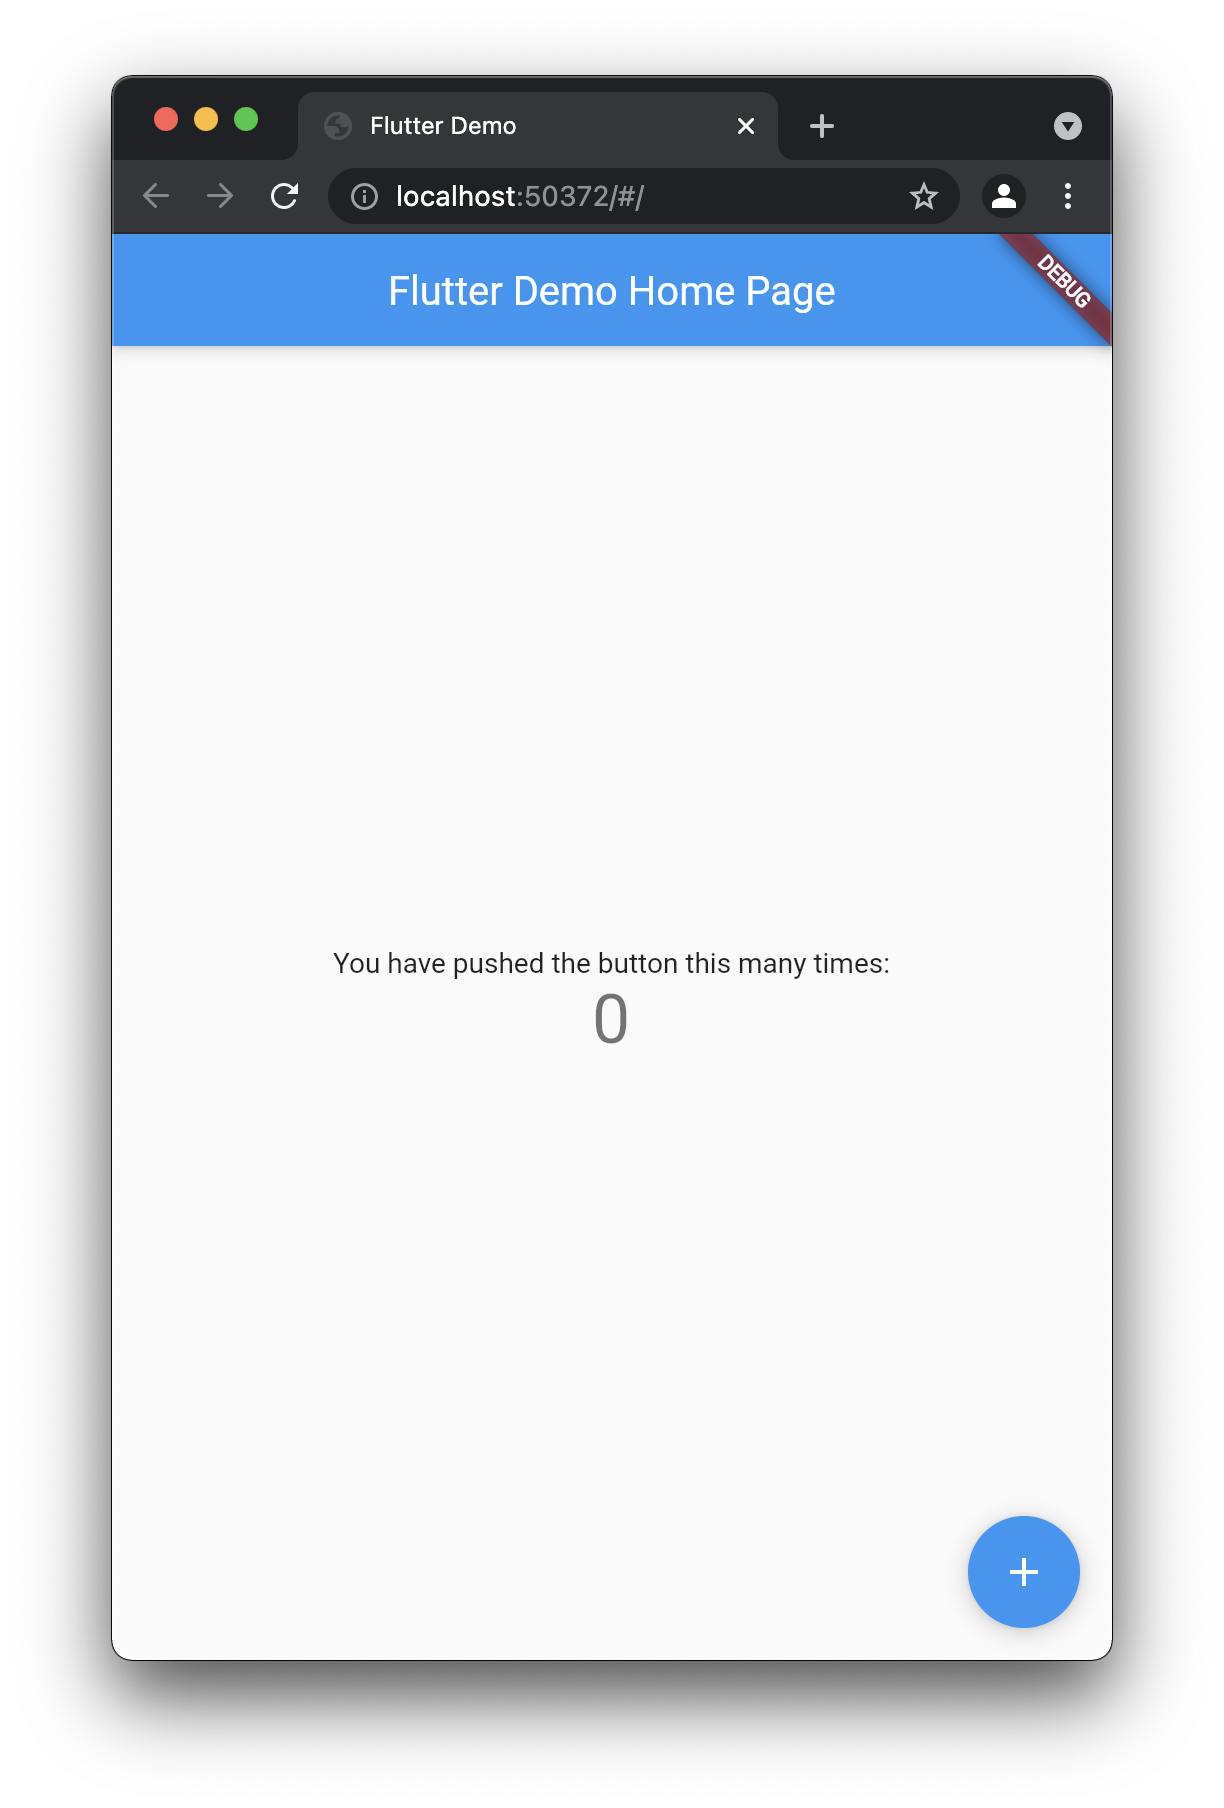
flutter runIt will take a while the first time, but a new Chrome window with your app should pop up.

This app comes with some basic code we can check to see how it works.
If we quickly inspect the app, we can see that all our app code is located at lib/main.dart this is where a Flutter app will start.
That's all for today. We'll look into modifying the app in another article.
You can also find this default app on GitHub.
Thank you for reading, and let's connect! permalink
Thank you for reading my blog. Feel free to subscribe to my email newsletter and connect on Facebook or Twitter